Today’s DIY project: how to make your very own air diffuser.
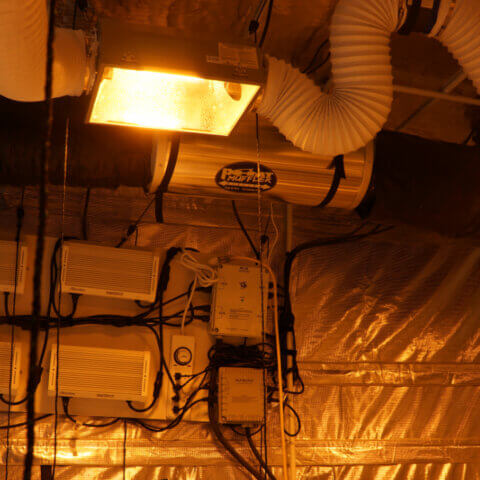
Fresh air is important. Having one intake fan blowing fresh air into your indoor grow-space presents an inherent flaw. The plants farthest from the intake may not get the same quality of airflow. Enter the air diffuser. An air diffuser can be attached to your intake fan to direct airflow uniformly across your grow space. Especially for smaller grow spaces, an air diffuser can even take the place of oscillating fans!
For more on why air diffuser’s are important, click here.
You will need:
- Scissors or a scalpel.
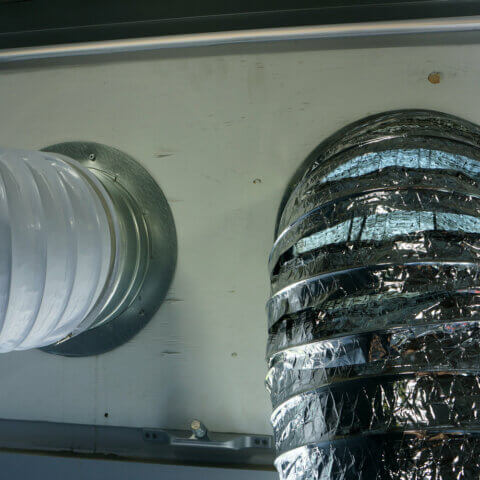
- Flexible ducting: Find out what type of ducting is right for you.
- Plug for one end of the ducting. We used a small plastic plug from one of our GH systems. A small piece of plastic cut to size will work in a pinch.
- Silicone glue: Loctite.

How to:
- Use your scalpel or scissors to cut small slits, spaced every few inches along the desired length of flexible ducting.
- Next, use your plug to seal one end of the ducting and securely glue it in place with Loctite. Allow glue to cure overnight. You may need to use clamps or painter’s tape to secure the seal.
- Mount your new air diffuser and enjoy the uniform fresh air-flow.


Thanks for stopping by the DIY Destination!